Thursday, November 7, 2024
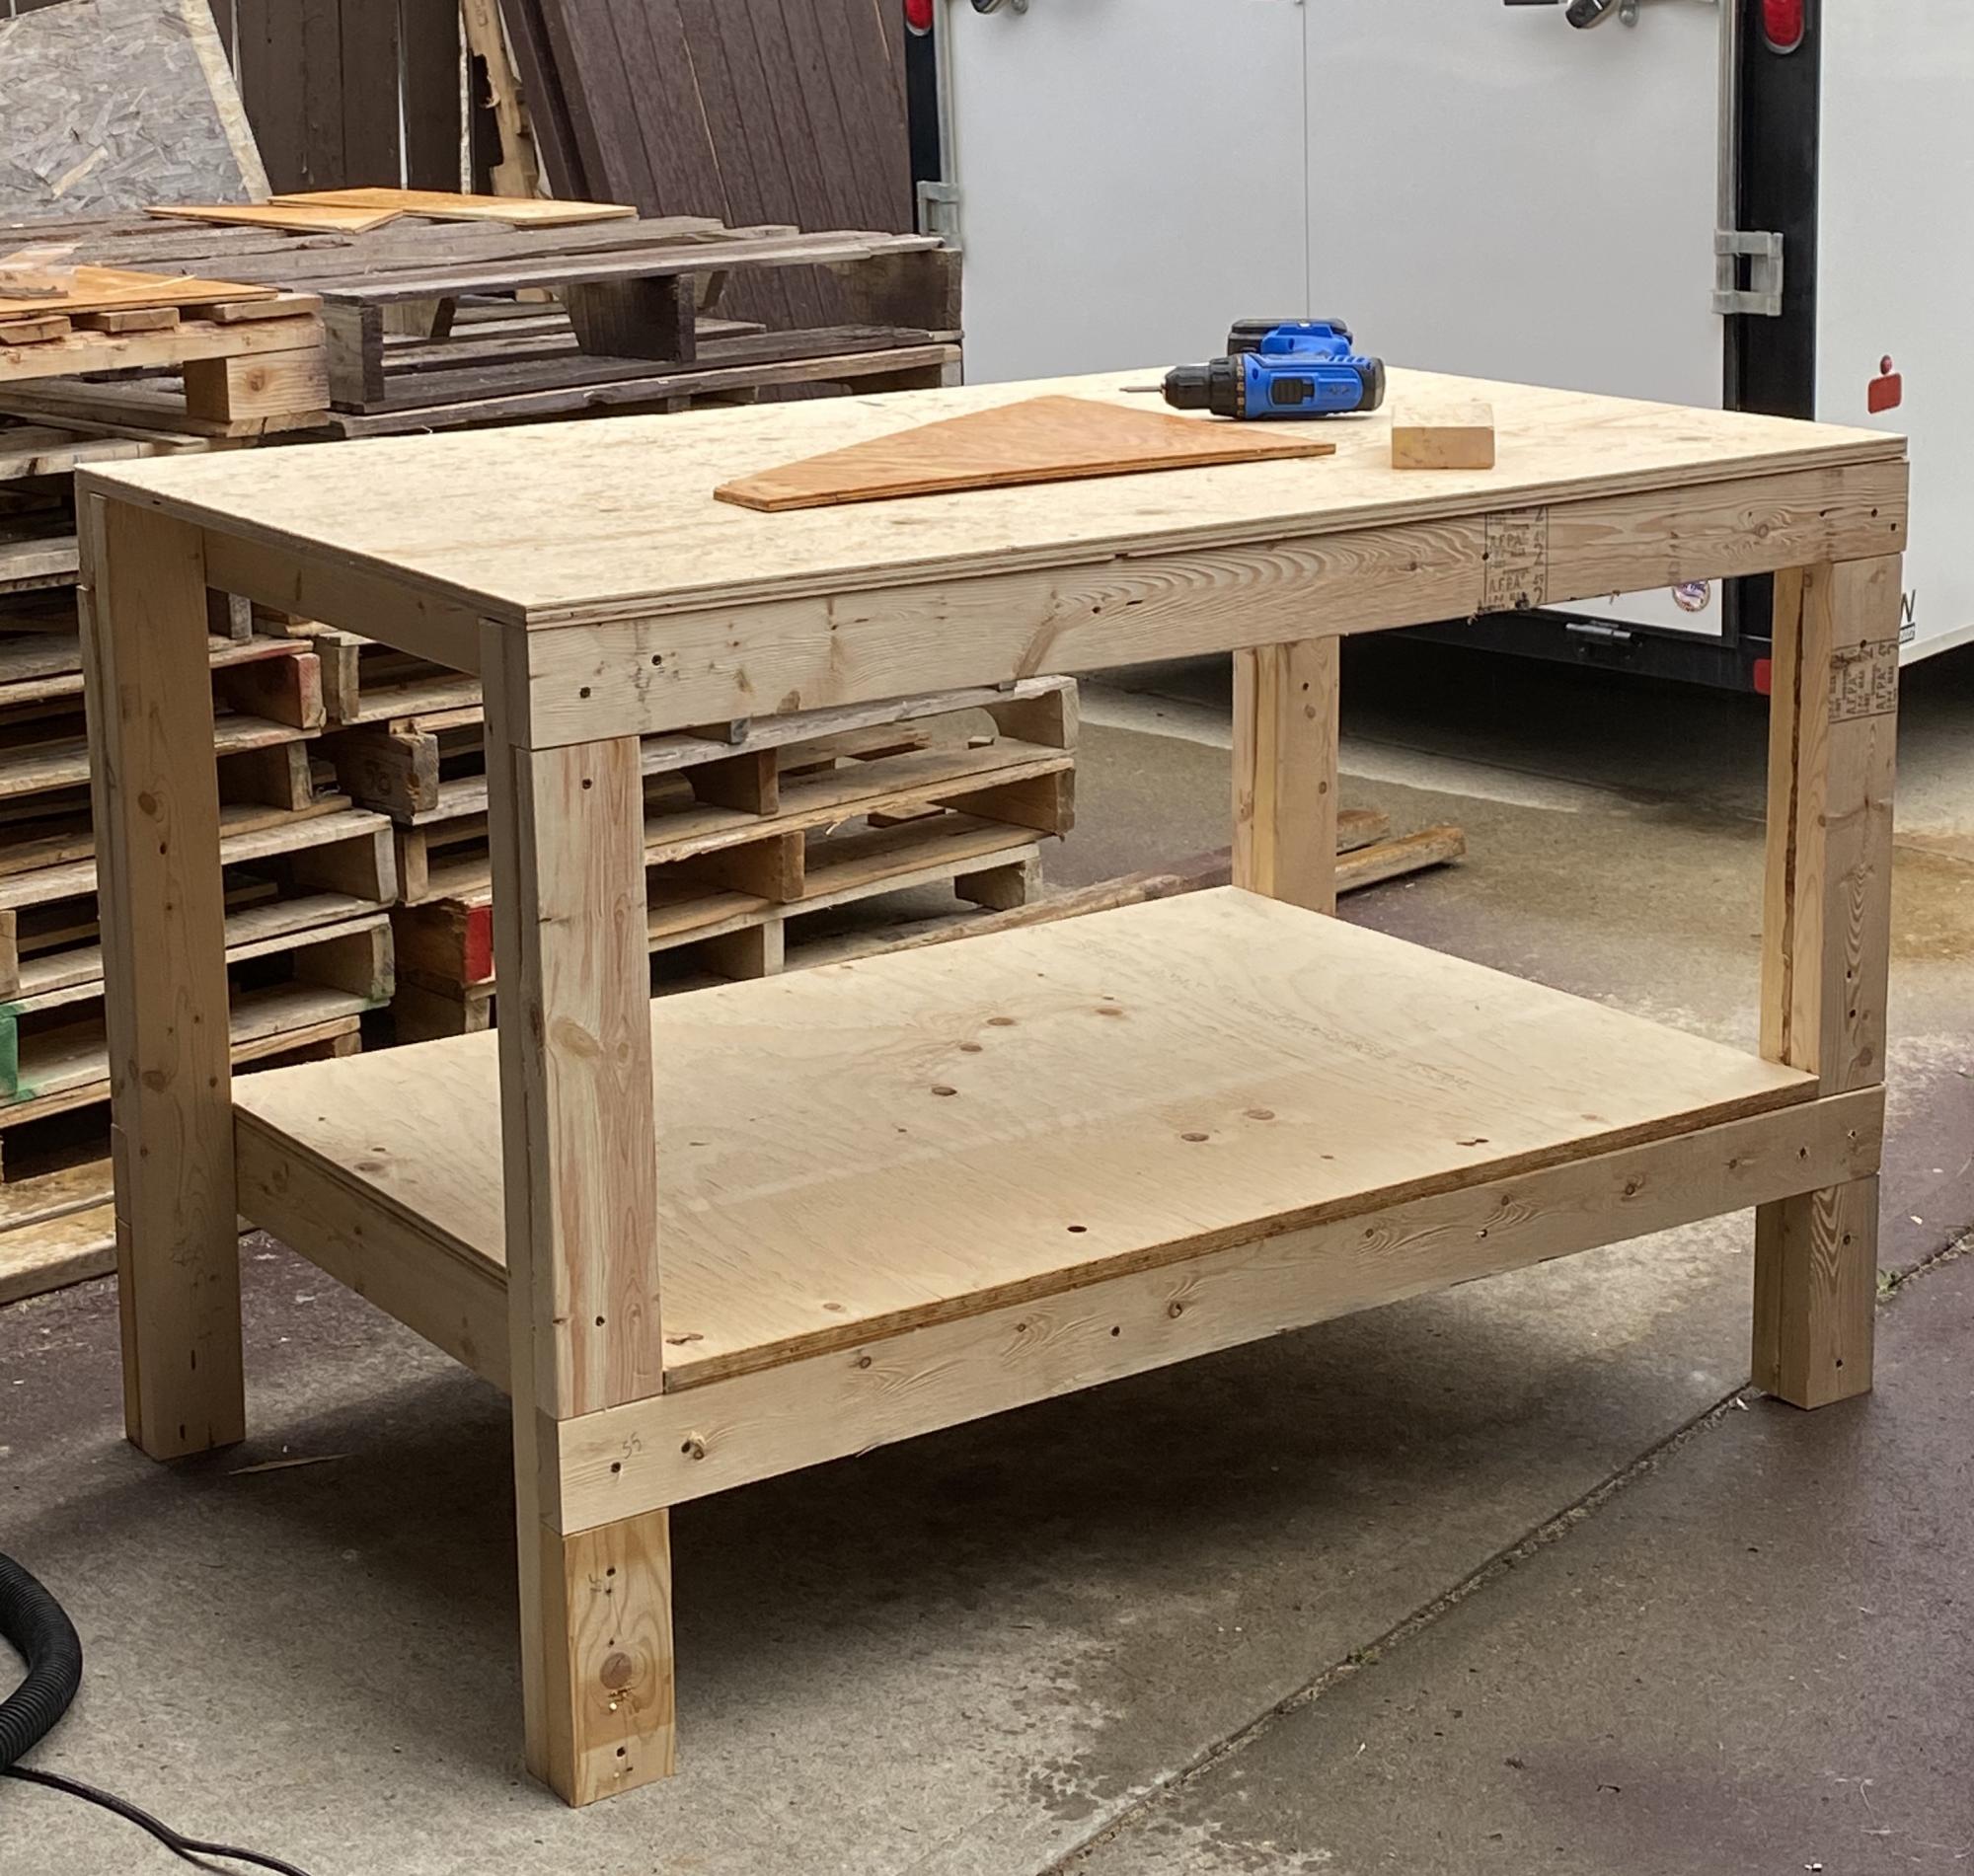
How to build a wooden workbench for your garage

Hey there, fellow DIY enthusiasts! Let's talk about the heart of any garage workshop: the workbench. It's the backbone of your projects, the place where your ideas come to life, and where you can unleash your inner maker. Building your own workbench is not just about saving some cash, it's about crafting a piece that perfectly suits your needs and workspace. So, grab your tools, put on your favorite playlist, and let's get building!
Planning Your Workbench: The Blueprint for Success
Before you start hammering and sawing, take some time to plan your workbench. This isn't just about getting the dimensions right, it's about understanding how you'll use it.
What are you going to build? Are you tackling small woodworking projects or heavy-duty automotive repairs? This will determine the size, height, and strength of your bench.
Where will it go? Measure your garage space carefully, considering access, lighting, and any potential obstacles. Don't forget about leaving room for movement!
What features do you need? Think about things like shelves, drawers, vises, and power outlets. The more you plan, the more functional your workbench will be.
Gathering Your Materials: The Foundation of Your Workbench
Now, let's get those materials together. You'll need:
Lumber: Choose sturdy hardwoods like maple, oak, or cherry. These are durable and resistant to scratches and dents. You can also use pressure-treated lumber for the legs and frame if you're building a workbench for outdoor use.
Screws: Go for structural screws that are long and strong enough to securely fasten your pieces together.
Wood glue: Use a high-quality wood glue for a strong and durable bond.
Finishing materials: You can choose from paint, stain, or varnish. Consider the look you want and the protection you need for your workbench.
Construction: The Magic Begins
Let's break down the construction process step by step:
1. Building the Base:
The Frame: Cut the lumber for the frame according to your dimensions. This is where you'll want to make sure those corners are nice and square, using a carpenter's square to ensure accuracy.
Connecting the Pieces: Secure the frame pieces with screws and wood glue, making sure to countersink the screws for a smooth finish.
Adding Strength: You can reinforce the frame with cross braces for added stability.
The Legs: Cut the legs to the desired height and attach them to the frame using screws and glue.
2. Creating the Top:
The Top Panels: Cut your top panels to size and join them together. Consider using a slightly wider top panel to create an overhang that provides extra workspace.
Adding Strength: Again, you can reinforce the top by using cross braces or adding a center support.
Attaching the Top: Securely attach the top to the base with screws and glue.
3. Finishing Touches:
Sanding: Sand the entire workbench to create a smooth finish. Start with a rougher grit sandpaper and gradually transition to finer grits.
Finishing: Apply your chosen finish to protect the wood and enhance its appearance. You can apply multiple coats for greater durability.
Adding Extra Features: Taking Your Workbench to the Next Level
Now that you have a solid workbench, it's time to personalize it with some additional features:
Shelves: Build shelves above or below the top surface for additional storage. You can use brackets or create custom shelf units.
Drawers: Add drawers to keep your tools and supplies organized. You can find pre-made drawer slides or create your own drawer system.
Vise: A vise is a valuable addition to any workbench, especially for woodworking projects. You can mount it on the side or in the center of the top.
Power Outlets: Consider adding electrical outlets to your workbench for easy access to power for your tools.
Safety First:
Don't forget to prioritize safety throughout the construction process:
Wear safety glasses and a dust mask.
Use a level to ensure the workbench is stable.
Be careful with sharp tools.
Always double-check your measurements.
Don't hesitate to ask for help if you need it.
The Final Touches: A Workbench You Can Be Proud Of
Once you're done building your workbench, take a moment to admire your creation. You've just created a functional and stylish workspace that will serve you well for years to come. Now, get out there and start creating!
Bonus Tips:
Go for a simple design to start. It doesn't need to be fancy to be functional.
Don't be afraid to experiment. There's no right or wrong way to build a workbench. Use your creativity to make it your own.
Use high-quality materials. This will ensure that your workbench lasts for years to come.
Share your workbench with others! Post pictures of your creation online and inspire others to build their own.
Remember, building a workbench is a journey, not a destination. It's an opportunity to learn new skills, exercise your creativity, and create a space that inspires you to bring your DIY dreams to life. So, what are you waiting for? Let's get building!