Thursday, November 7, 2024
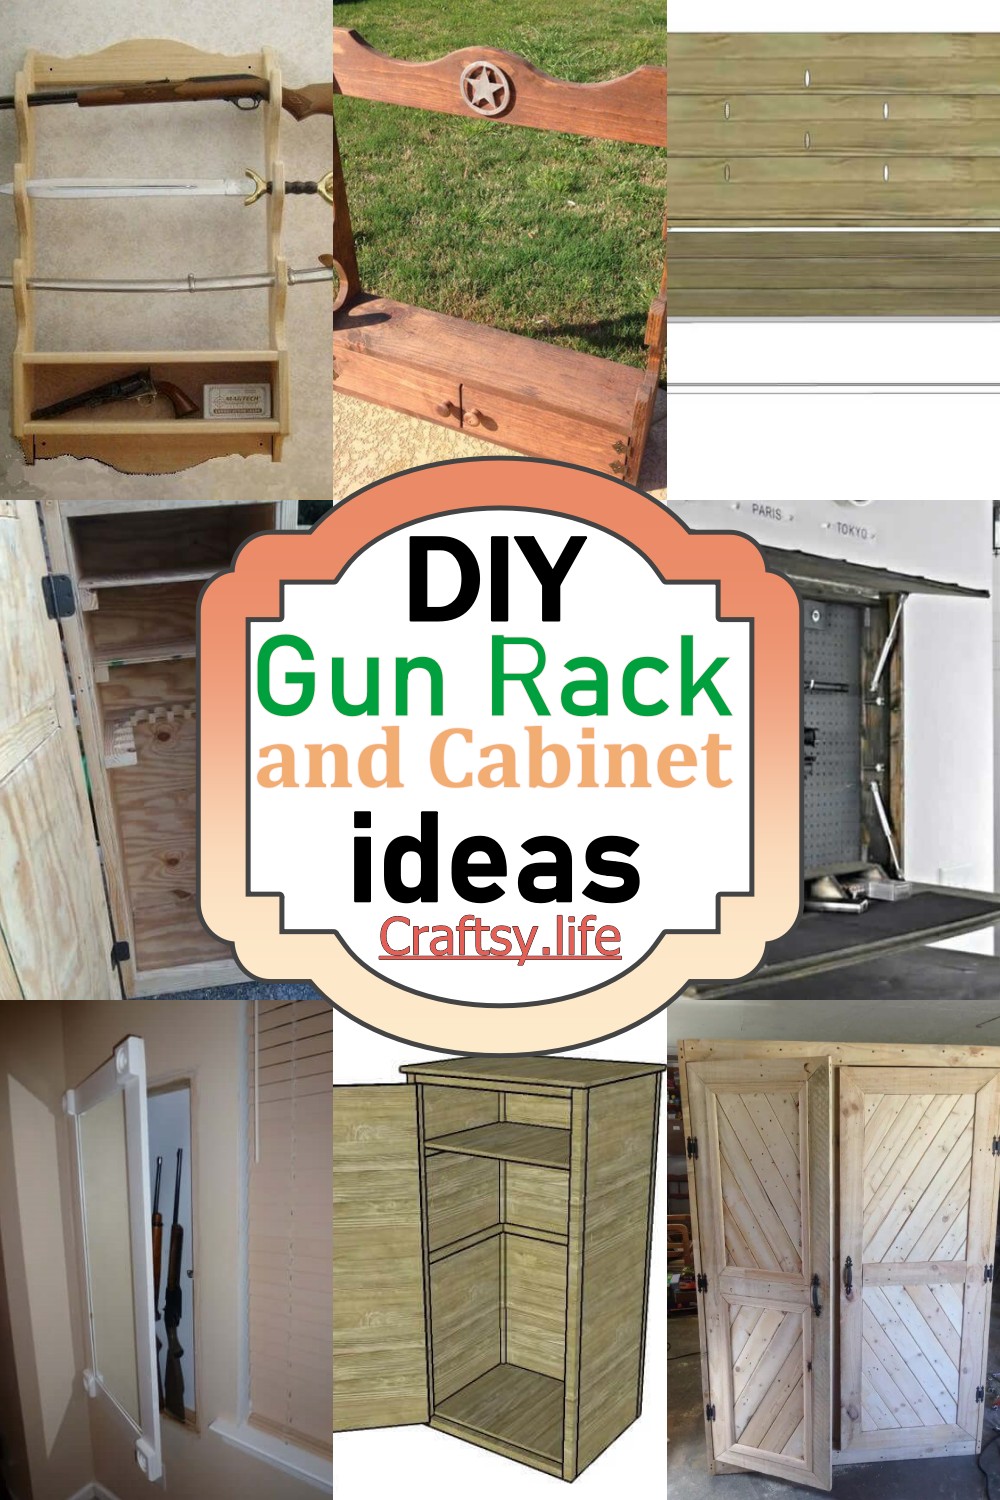
Diy guide to building a wooden gun cabinet with adjustable racks

Alright, folks, let's talk about building a gun cabinet! You know, that sturdy sanctuary for your prized firearms, where they can rest in peace and out of curious little hands.
But here's the thing, buying a pre-made one can feel like a hefty investment. And sometimes, you just want to build something yourself, right? There's something satisfying about crafting something with your own two hands, and besides, it's a chance to create a piece that perfectly suits your needs.
So, grab your toolbox, put on your safety glasses, and let's dive into this woodworking adventure. We're gonna build a sturdy gun cabinet with adjustable shelves, and trust me, it's not as daunting as it might seem.
## The Blueprint: Planning Your Cabinet
First things first, let's create a plan. It's like building a house, you wouldn't start without a blueprint, would you?
Here's what we need to consider:
Size: This is key. Think about how many guns you need to store, their sizes, and the space you have available. You don't want to build a monstrosity that overwhelms your room.
Design: Do you want a simple, classic design, or something more elaborate? Maybe you fancy a rustic look or something modern? Let your creativity flow!
Materials: We're sticking with wood here, folks. Think about the kind of wood you want. Pine is affordable, but maybe you prefer the strength of oak or the elegance of mahogany. Consider what you'll be using it for and your budget.
Features: Adjustable shelves are essential, right? But do you want a lock? Maybe some decorative molding? Think about what makes your cabinet truly yours.
## Gathering Your Tools and Materials
Now, let's gather our tools and materials. I know, it can feel overwhelming, but just take it one step at a time.
Here's a list to get you started:
Wood: Measure and purchase your chosen wood, including plywood for the back and shelves.
Hardware: Get your hands on screws, hinges, a door handle, a lock (if you're adding one), and maybe some dowel rods for extra support.
Tools: You'll need a circular saw, a drill, a jigsaw, a sander, clamps, a level, a tape measure, and a pencil.
Finishing Supplies: Don't forget stain, paint, varnish, or whatever finishes your heart desires.
Safety Gear: Always wear safety glasses, hearing protection, and work gloves.
## Construction Time: Building the Cabinet's Foundation
Now, let's roll up our sleeves and start building! Remember, each step builds on the previous one, so be meticulous!
Cutting: Using your circular saw, carefully cut the wood pieces according to your measurements. Don't forget to leave some extra for the cabinet's sides and bottom.
Assembling the Frame: Start by building the cabinet's frame. This is the base of your masterpiece. Use wood glue and screws to securely join the pieces. Remember, accuracy is key here.
Creating the Bottom: Cut a piece of plywood to fit the bottom of the cabinet and securely attach it to the frame.
Adding the Sides and Back: Now it's time for the sides and the back. Measure and cut pieces of plywood to fit the sides and the back. Attach them to the frame with screws, ensuring they are flush with the front and bottom.
## Time for the Shelves: Adjustable Storage Solutions
Alright, here's where things get interesting. Adjustable shelves are what make this cabinet truly awesome.
Measure and Cut: Determine how many shelves you need and their spacing. Cut the shelf boards according to your measurements.
Adding Supports: To make the shelves adjustable, we'll use dowel rods. Drill holes on each side of the cabinet to accommodate the dowel rods.
Installing the Shelves: Place the dowel rods into the holes. Now, slip your shelves over the rods, making sure they are level. You can adjust their height by moving them up or down the rods.
## Finishing Touches: The Final Steps
We're almost there, folks! Let's add the finishing touches and bring our gun cabinet to life.
Door Installation: Attach the hinges to the door and the cabinet frame. Make sure the door swings smoothly.
Handle and Lock: Install the handle and lock (if you chose to include one). Don't forget to choose a strong and reliable lock.
Sanding and Finishing: Sand the entire cabinet to smooth out any rough edges. Then, apply your chosen finish. Whether it's stain, paint, or varnish, let it dry thoroughly.
## Voila, Your DIY Gun Cabinet!
And there you have it, folks! You've created a stunning gun cabinet with adjustable shelves. Take a moment to admire your work. You built something practical, beautiful, and you saved a ton of money by doing it yourself.
Now, go ahead and organize your firearms with ease. You've earned it!
## Bonus Tips for Success
Don't rush: Take your time and measure twice, cut once. Accuracy is key to a well-built cabinet.
Invest in good tools: Using quality tools will make the job easier and result in a better final product.
Get creative with your design: Don't be afraid to add personal touches, like decorative moldings or custom finishes.
Ask for help if you need it: Don't be afraid to ask a friend or family member for assistance with the heavier tasks.
Most importantly, have fun! Building your own gun cabinet is a rewarding experience, so enjoy the process.
And remember, safety first! Always wear safety glasses, hearing protection, and work gloves when using power tools.